
What is e-Document KYC?
e-Document KYC (Know Your Customer) is a remote identity verification process where customers prove their identity by:
- Uploading acceptable identification documents (e.g., passports, driver licences).
- Completing a liveness test to confirm they are physically present and match their ID photo.
- Completing biometric checks to confirm that the person presenting matches the person in the uploaded ID document photo.
In the bronID Portal, the e-Document KYC process:
- Is initiated by generating a unique, secure link.
- Allows the customer to complete verification from their own device.
- Returns a verification result (“Verified” or “Rejected”), along with access to document images, facial captures, and, if applicable, an ID Verification Certificate.
This method is commonly used for:
- Onboarding customers without face-to-face contact.
- Meeting AML/CTF regulatory obligations.
- Providing a smooth, digital verification experience.
Disclaimer
This tutorial is for use in the bronID test environment only.
In this environment:
- No actual document checks are performed.
- No real biometric or liveness verification is carried out.
- The last name entered will trigger the desired outcome regardless of the documents or images submitted.
These scenarios are solely intended for integration and development purposes.
There is no real verification process running in the background — results are simulated for testing workflows.
1. Access the KYC Request Tool
- Log in to your test bronID Portal.
- Navigate to KYC (e-Documents) > Request KYC.
This section allows you to generate unique KYC forms for identity verification.
2. Generate a KYC Form
Step 1: Enter customer details
- First Name: Enter any name.
- Last Name: Use one of the special testing formats below to simulate different results (see section Testing Values).
- Email: Enter any email.
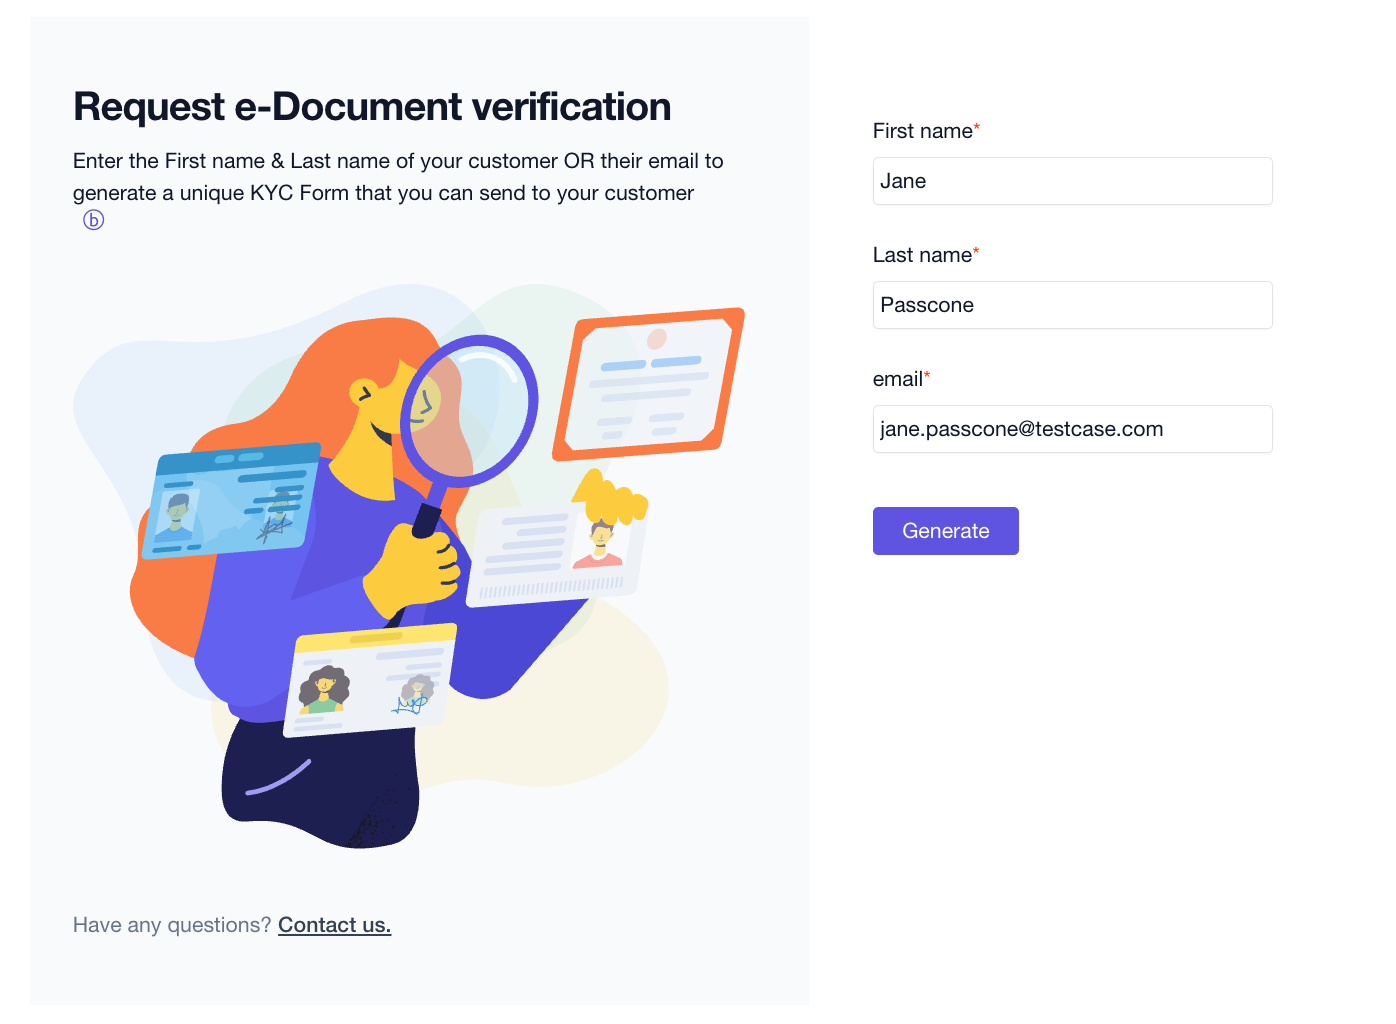
Step 2: Click “Generate”
- This will create a unique KYC form linked to the details you entered.
Step 3: Share the form
- Copy the generated link.
- Send it to your “customer” (or open it yourself for testing).
- The form will guide them through:
- Uploading identity documents.
- Completing a liveness test.
- Performing biometric checks.
3. Viewing Results
- Once submitted, go to Results in the bronID Portal.
- You can view:
- Verification status.
- Uploaded ID images.
- Liveness/biometric captures.
4. Testing Values
To simulate different verification flows, use the following last name formats:
5. Tips for Testing
- The portal will treat each generated form as a separate KYC request.
- Test all three flows to familiarise yourself with both successful and failed verification experiences.
Example Test Runs
- Basic Verified Flow:
First Name: Jane, Last Name: Passone → Expect “Verified.” - Basic Rejected Flow:
First Name: Anna, Last Name: Failayson → Expect “Rejected.” - Certificate Generation:
First Name: Mark, Last Name: Smith → On the confirmation page, change last name to Passsmith → Expect “Verified” + Certificate.

