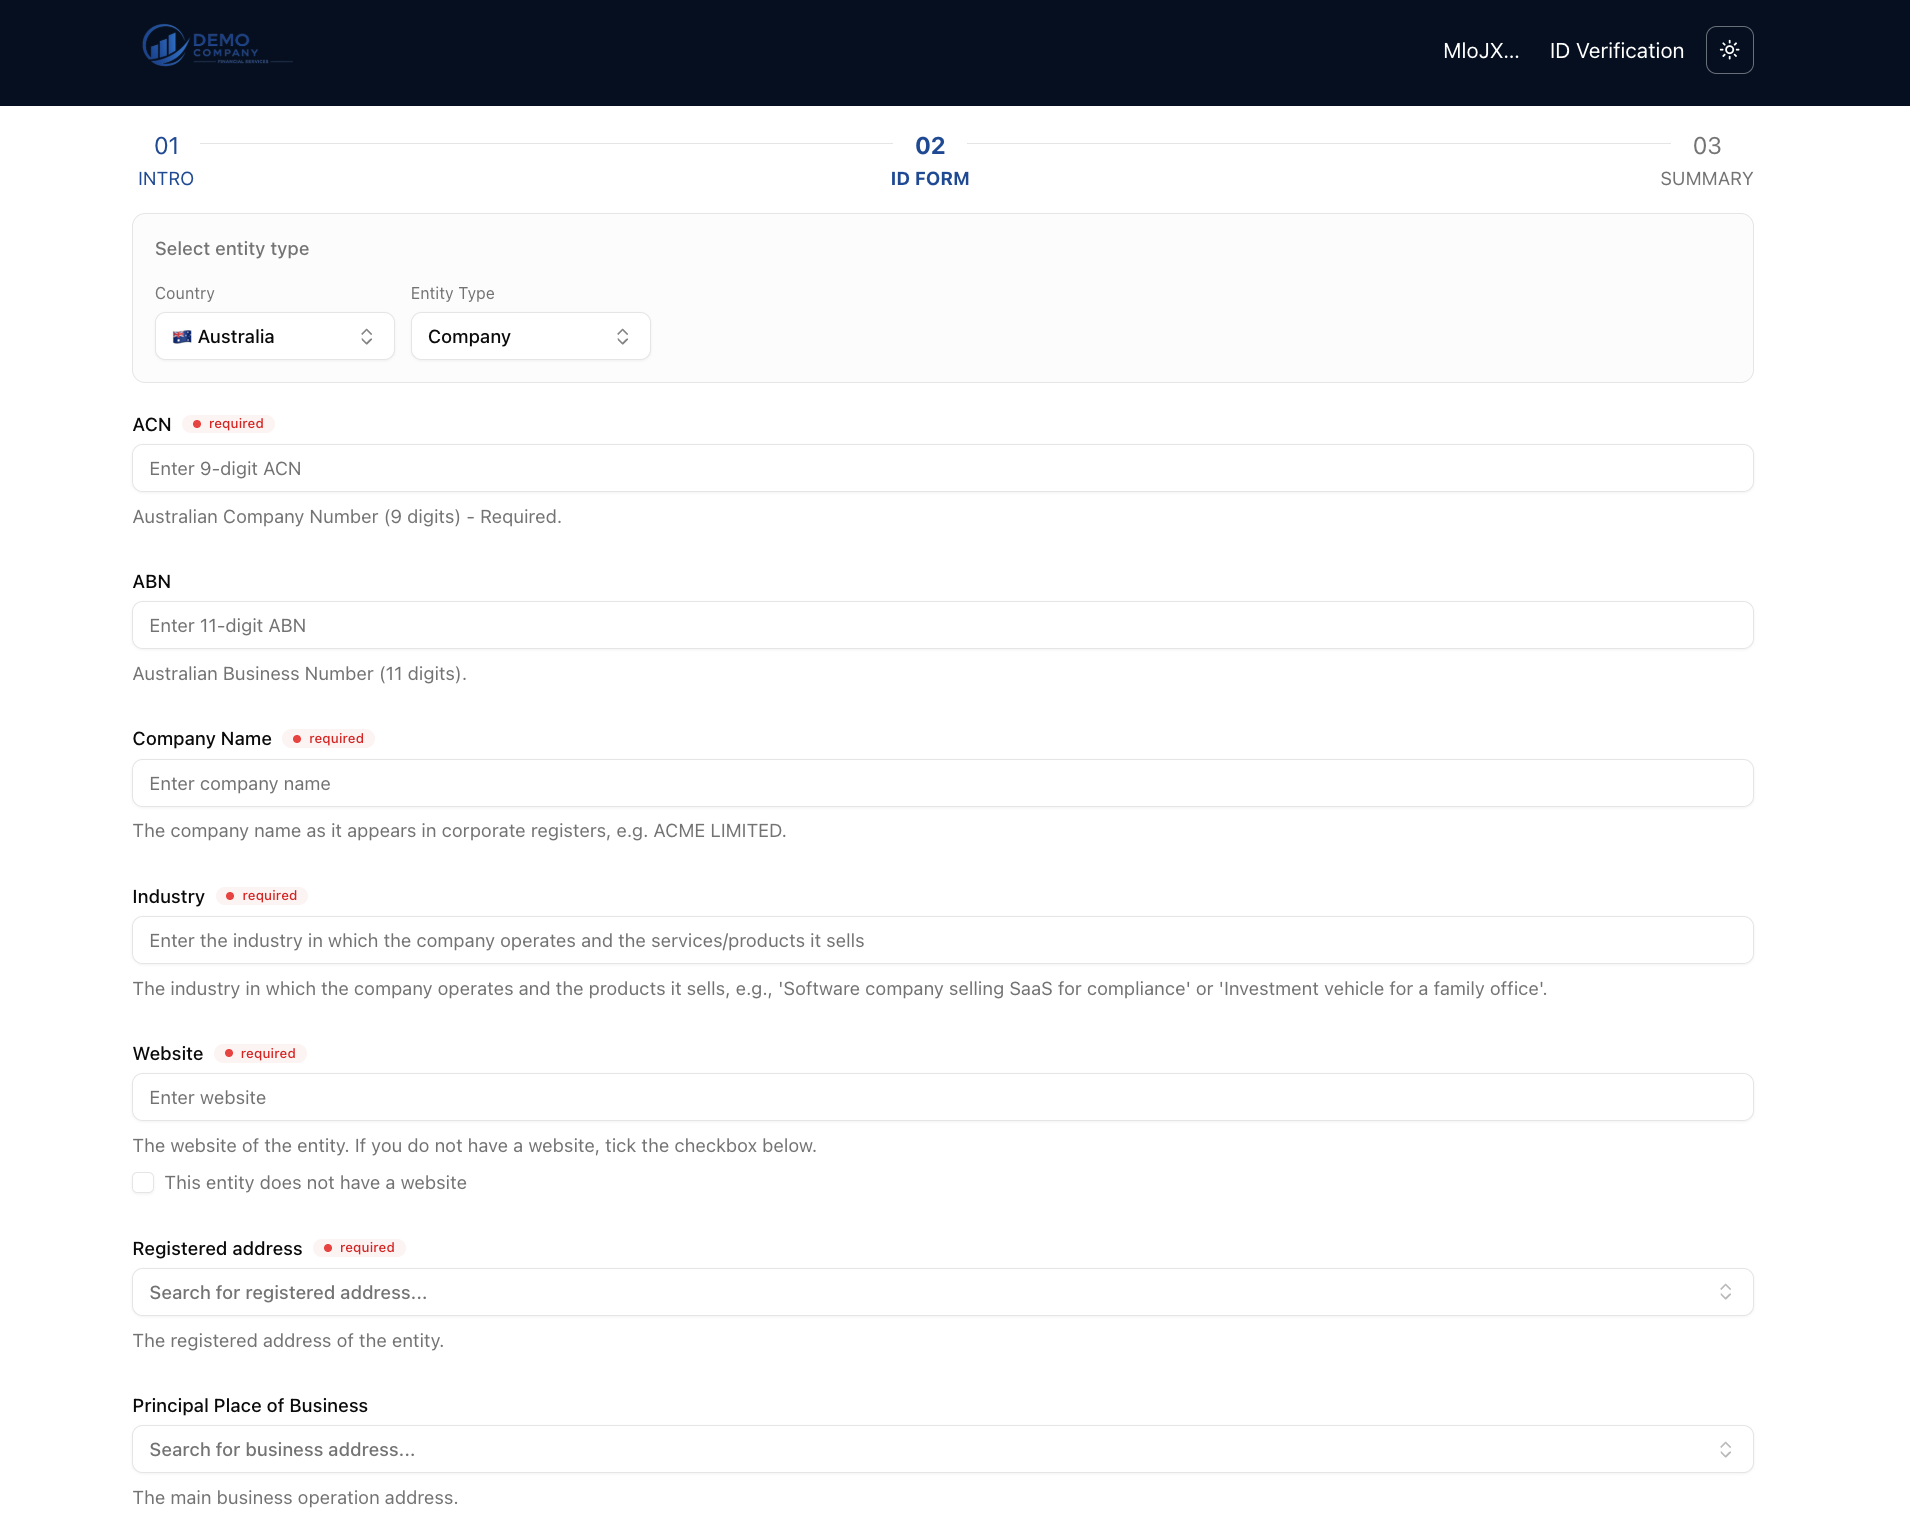
If you are using bronID White-label Forms to collect and process identity data, you can customise the branding of the forms to give your customers a more personalised experience. Forms opened for your account will use the logo, colours, and allowed countries and entity types that you configure. In this tutorial, we will go through the steps to customise the bronID White-label Forms. Please note that each step opens up once the previous step has been completed, ensuring that no steps are missed.
- Log into your bronID Portal account.
- Open Settings from the left-hand menu.
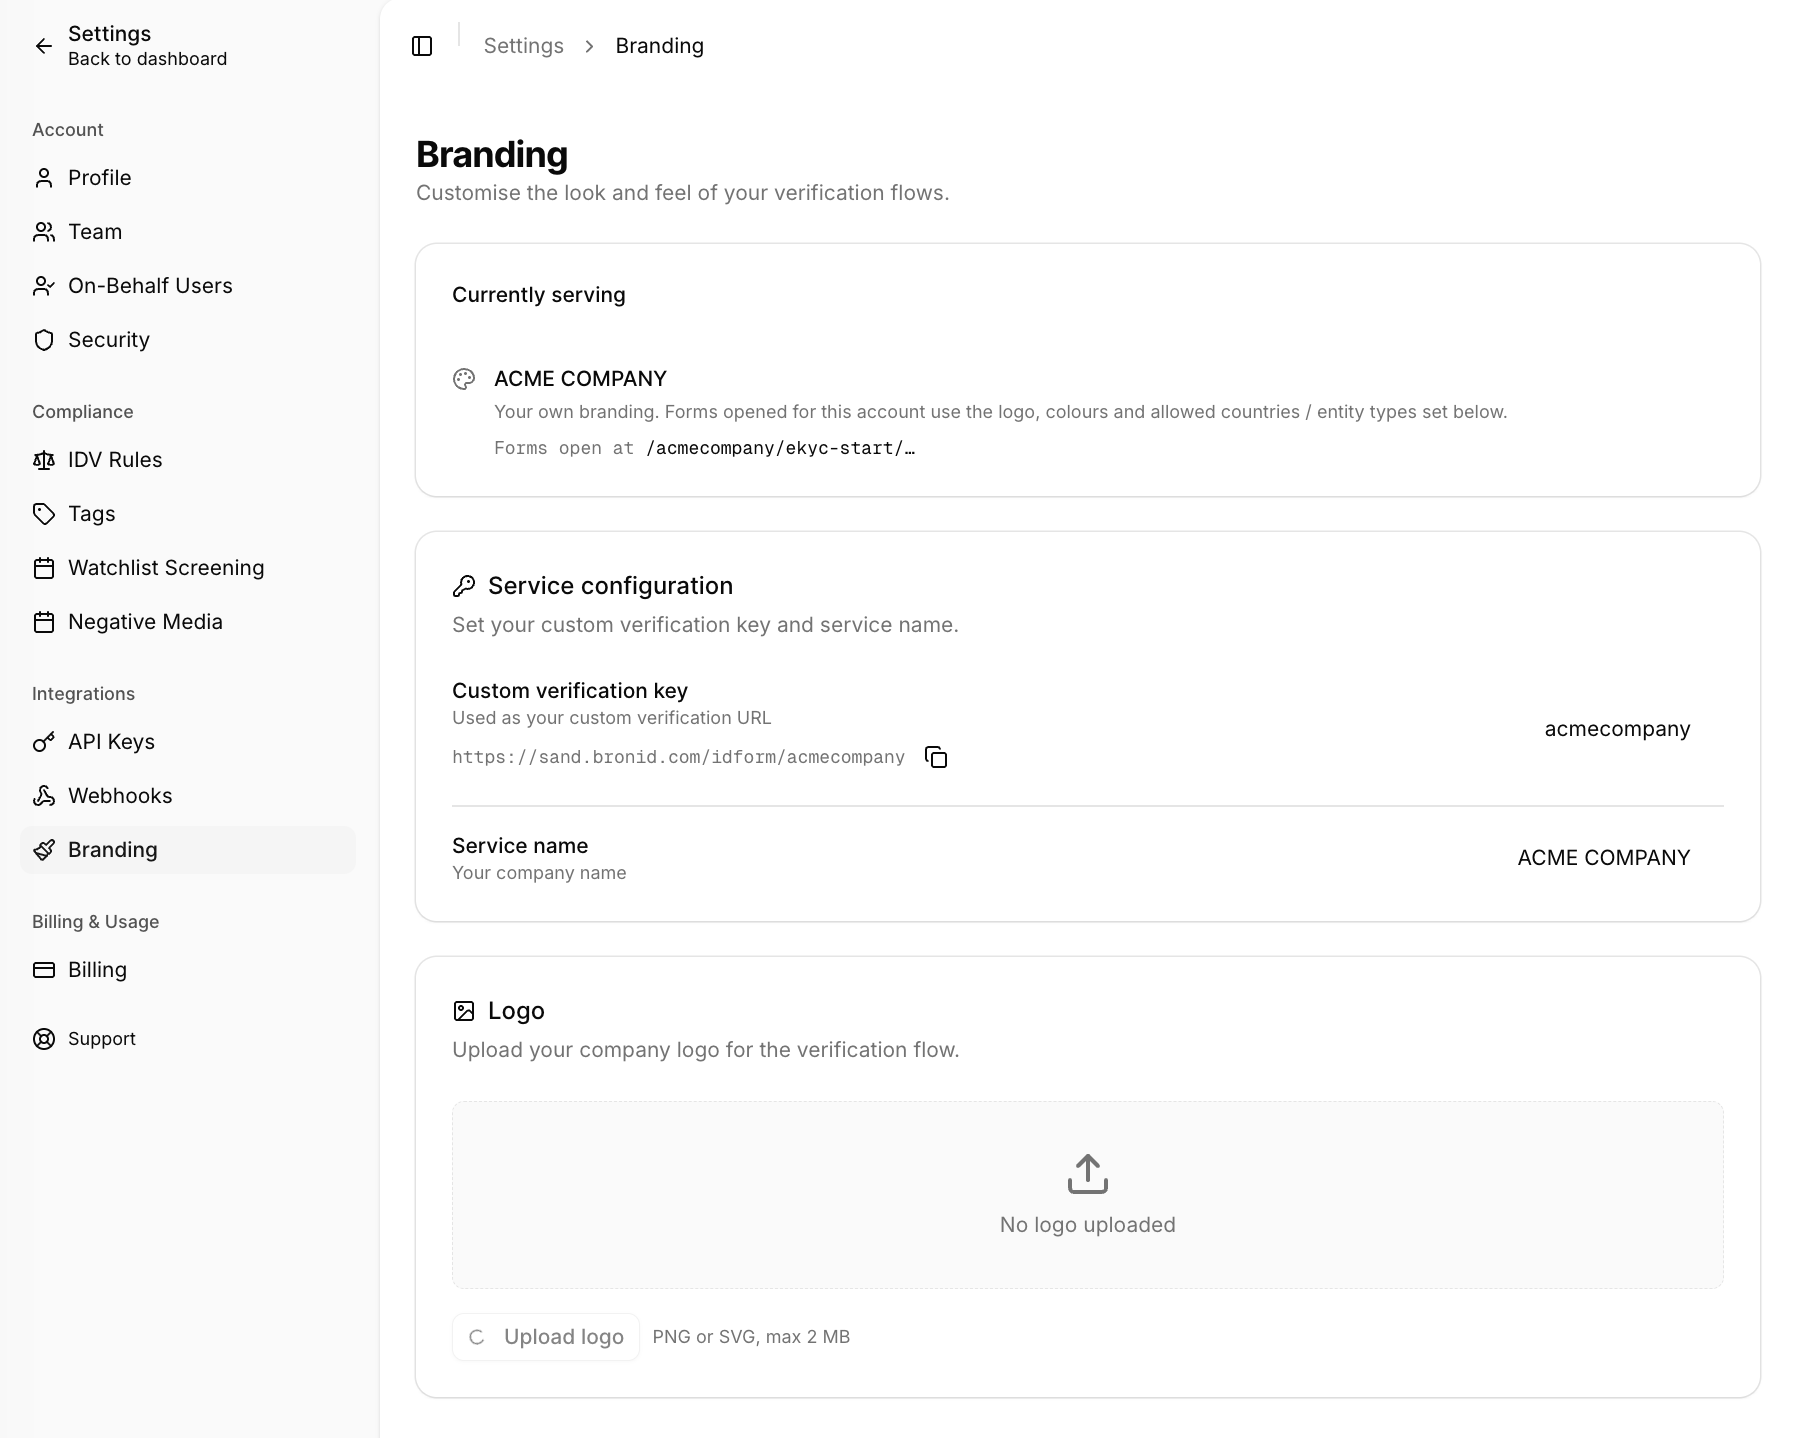
- Under Integrations, select Branding. At the top of the page, the Currently serving section shows which branding is in use and the link where your forms open.
- Configure the Service configuration section. Set your Custom verification key, which is used as your part of your custom verification URL where your customers can submit KYC verifications and your Service name, which is the name of your business or service as it will be shown to your customers when they access the White-label Forms (e.g. ACME COMPANY).
- Add your Logo. Upload your company logo to be displayed on the verification flow (PNG or SVG, max 2 MB). This will help customers to recognise your business.
- Set your Colours. Configure the Header colour and Button colour of your White-label Forms to match your branding, either by using the colour picker or entering a hex value, then click Save.
- Configure the Flow settings. This section controls the links and contact information shown during verification:
- Enable public verification form: By default, this option is disabled. If enabled, anyone with your public link can submit verifications. It is recommended that you keep this option disabled to prevent anyone who has the link from submitting data for identity verification. If this option is disabled, you must generate a unique link for each verification from the bronID API or the Portal. This is the preferred option, as each user receives a unique link that only they can access.
- Support email: Add a support email that customers can use if the verification is unsuccessful or if there is an error. This email will be displayed on the forms, so make sure it is correct (e.g. support@acmecompany.com).
- Terms of Service link: Add a link to your Terms of Service (e.g. https://www.acmecompany.com/terms). This link will be added to the forms, and customers will be required to read and accept your terms before submitting their identity data.
- Redirect URL: If you want your users to be redirected after the verification is complete, set up your Redirect URL (e.g. https://www.acmecompany.com/applicationcomplete). If this is not configured, the users will stay on the verification result page.
- Enable countries. Choose the countries that you want to have as an option on the White-label Forms. This will ensure that customers can select their country of origin when submitting their identity data. Please note that if no countries are selected, all countries will be enabled in the forms.
- Enable entity types. Choose the entity types that you want to have as an option on the White-label Forms (e.g. individual or business). Please note that if no entity types are selected, all entity types will be enabled in the forms.
After completing the configuration, your customised forms with your branding and logo will be available on the link provided under the Custom verification key. This link is where your customers can submit their KYC/KYB verifications, and they will see the branding and logo that you set up during the configuration process. Make sure to test the forms after customising them to ensure that they are functioning correctly and displaying your branding correctly.