

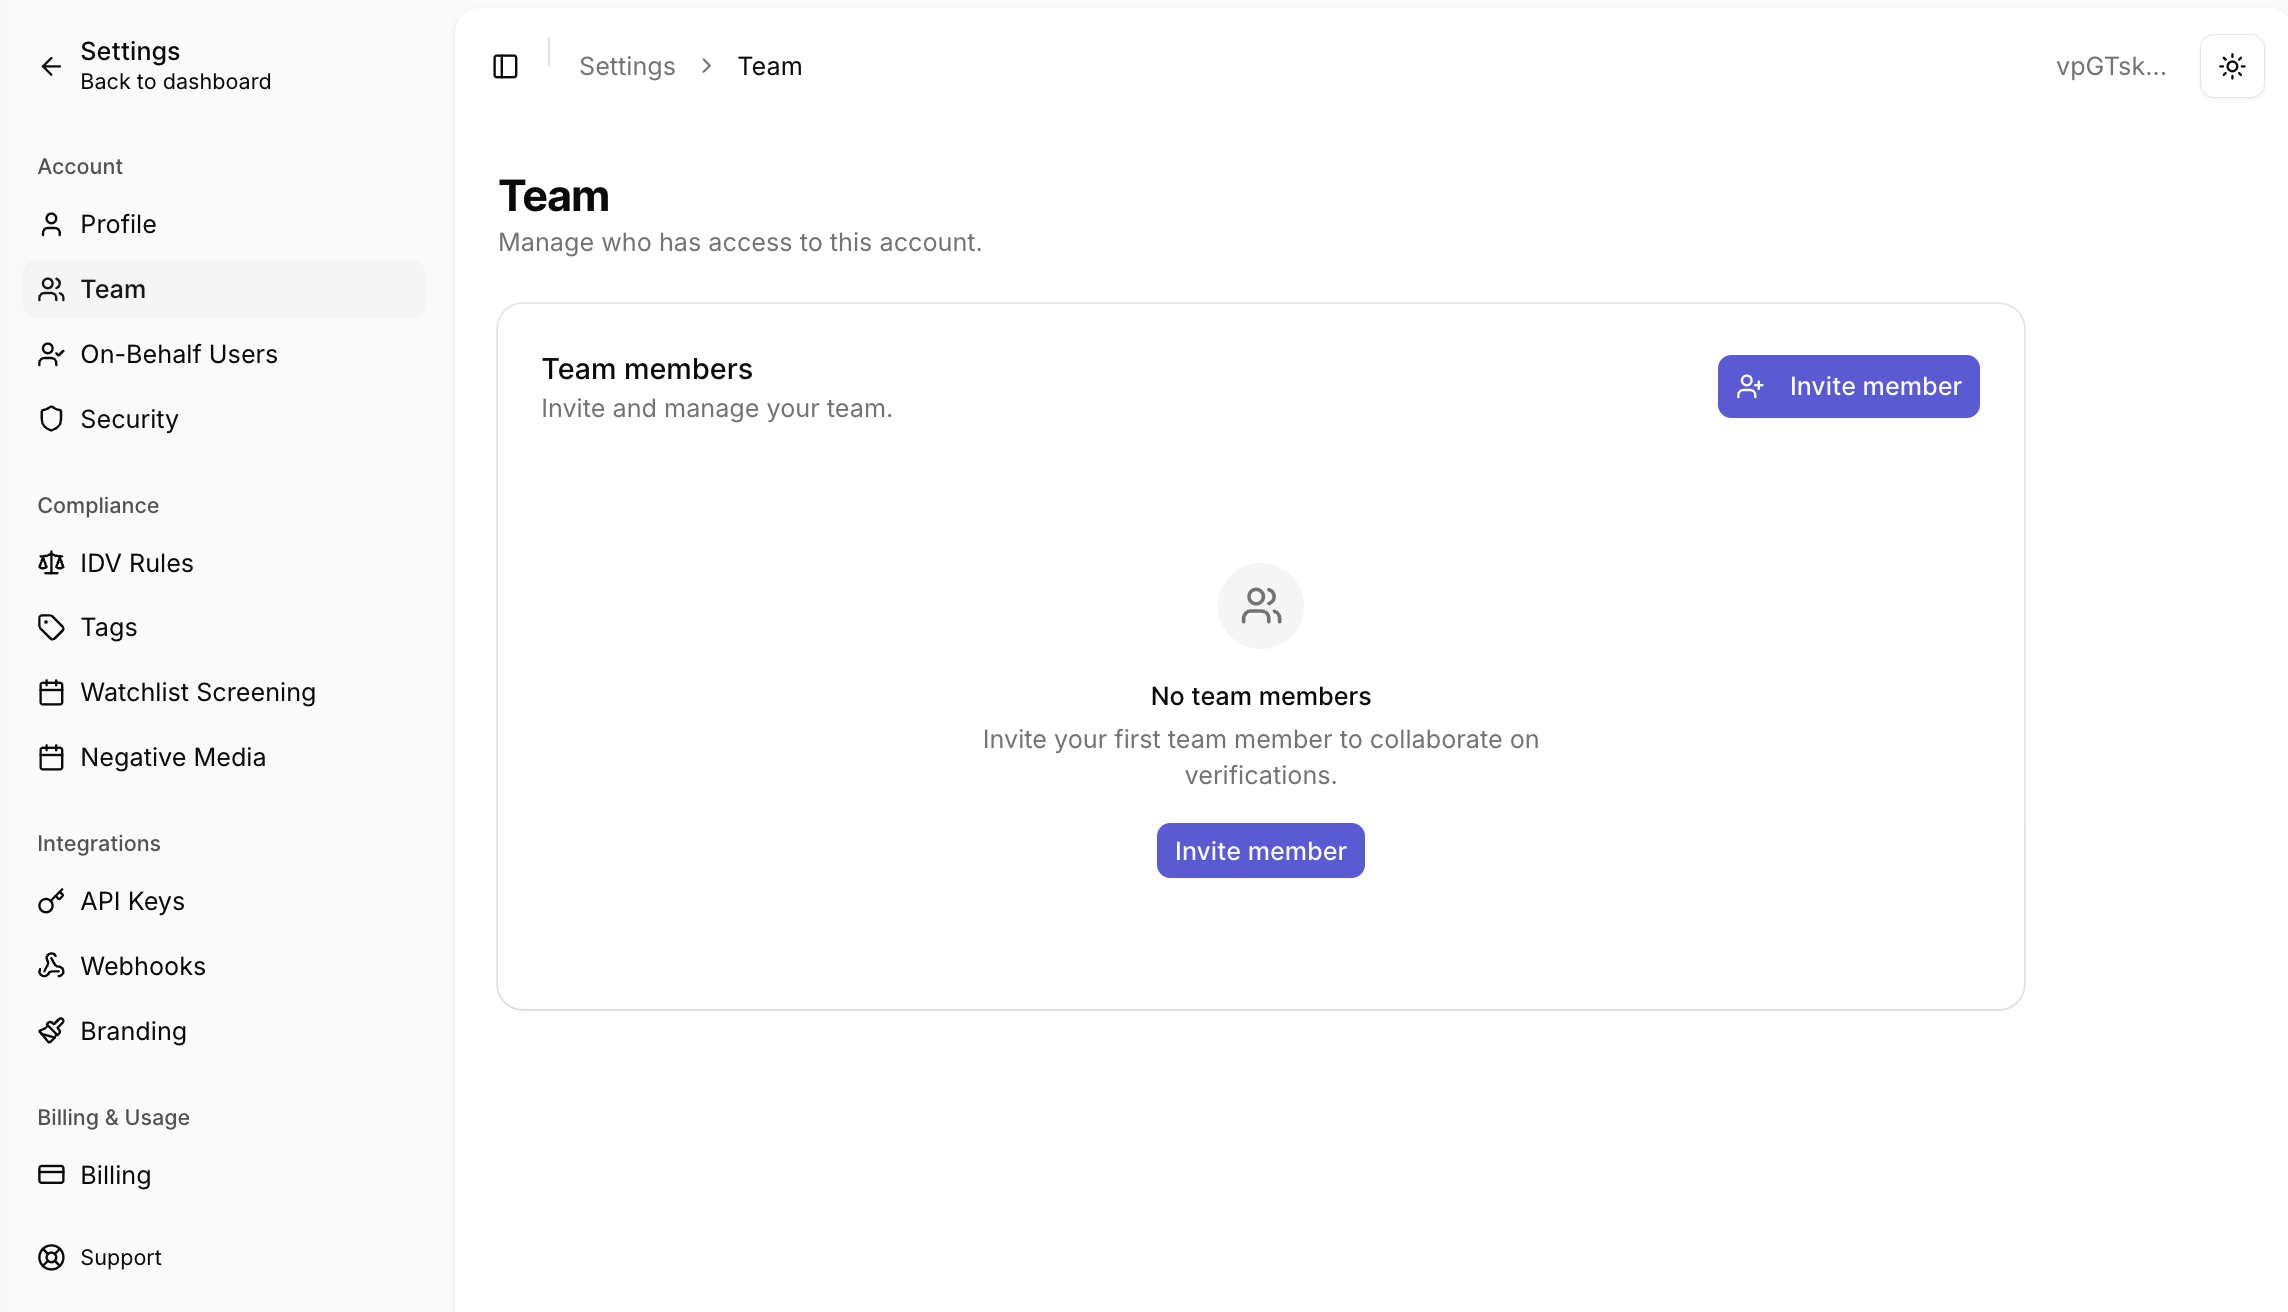
You can easily add or remove team members within your bronID workspace. To do so, open Settings from the left-hand menu and, under Account, select Team. The individual you invite must either create an account or already possess one with the bronID Portal. Furthermore, they need to accept your invitation to link both accounts. Once linked, all team members will share a unified view of customer data within the bronID Portal.
For a step-by-step guide on adding team members, please see below:
- Log into your bronID Portal account.
- Open Settings from the left-hand menu.
- Under Account, select Team.
- Click Invite member.
- Enter the work email address of the person you wish to invite. Note that the invitee's email address must be on the same domain as your main account. For example, if your main account is compliance@mycompany.com, all invited users must have an email address on mycompany.com. Invitations to email addresses on any other domain cannot be sent.
- From the drop-down menu, select the desired user role permissions (see the roles below).
- The invitee will receive an invitation email. If they don't already have an account with the bronID Portal, they will need to create one. Upon logging into the bronID Portal, they will find your invitation in their Dashboard.
- The invitee has the option to either accept or decline the invitation. If declined, the accounts will remain unlinked. If accepted, the invitee's bronID workspace will populate with data from your account, and you will receive a confirmation email detailing the action taken by the invitee.
- There may be a delay of up to 60 seconds before the invitee can view the data in their bronID workspace. It's recommended that the invitee refresh the Portal a few times to expedite data loading.
TIP: Navigate to the ID Verification > Results section and check whether both you and the invitee are viewing identical customer verification results. If so, this confirms that your accounts are successfully linked.
User roles
- Viewer: This read-only role is ideal for sales team members, auditors, or any personnel not requiring edit permissions. Viewers can access KYC, KYB, and eDocument KYC results, as well as PEP, Sanctions, and Criminal Watchlist results. Note that Viewers must set up multi-factor authentication (MFA) to be able to access the data.
- Editor: Tailored for first-line-of-defence employees and onboarding staff, Editors can view and process verifications and modify results without performing any system configurations. They can execute KYC and KYB procedures, manage PEP, Sanctions, and Criminal Watchlist screenings, and handle various types of data. Additionally, Editors can export results in CSV format, access billing reports, and alter UserIDs for KYC or KYB processes. Note that Editors must set up multi-factor authentication (MFA) to be able to access the data.
- Admin: The Admin role is suited for compliance officers or executive staff who require full system management capabilities. Admins can append notes, invite or remove team members, and adjust compliance settings such as IDV rules and Watchlist screening schedules. They can also manage the subscription, create or revoke API keys, and customise whitelabel form designs. Note that Admins must set up multi-factor authentication (MFA) to be able to access the data.
Please note that all users, regardless of role, must set up multi-factor authentication (MFA). Customers without multi-factor authentication are not allowed to access bronID data or perform any actions in the Portal.


